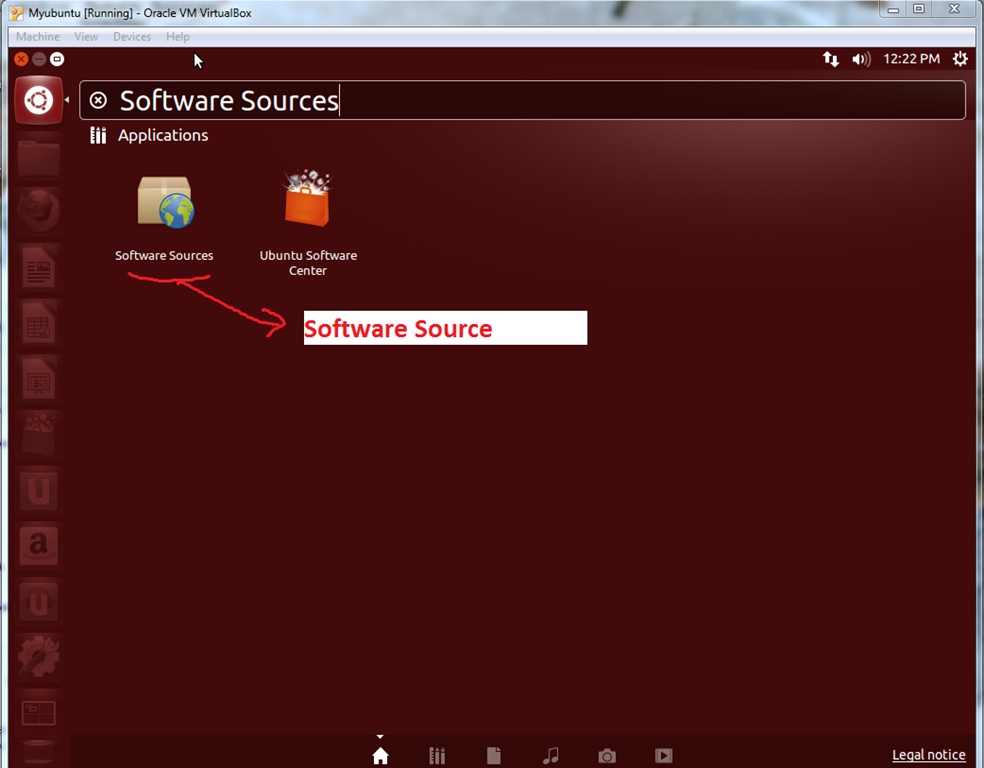
For this first we will go to the Dash Home and type the word “Software Sources” in the search box as shown below. This will list the software. Just click on it.
As shown below this will bring a Dialog Window. It has got several tabs. They are “Ubuntu Software”, “Other Software”, “Updates”, “Authentication” and “Additional Drivers” in that order. Let us check the first tab “Ubuntu Software”. Here you have the options to determine what all needed to be downloaded by ticking the options. Also you can select which server you need to use to download.
For changing the server, you need to be provide the password. You need to be a sudo user.
The next tab is “Other Software”. Here you can add the extra repositories you want to download from.
Now comes the “Updates” tab. Here you can choose what type of updates you want to install. Also the frequency of checking for updates can be set. You can also set how to notify you about updates.
Authentication tab helps you add or remove repository key files. Key files are needed for checking the authenticity of repositories.
The last tab is “Additional Drivers”. It will show if any of your hardwire has hot some additional drivers.
After doing the changes as desired, just click the “Close” button. If you want to change any settings you can click on the “Revert” button.


